Introduction: The Key to Unlocking Peak Slingshot Performance
In the world of slingshot shooting, achieving maximum speed and consistency isn't about using the thickest bands or the strongest pull—it's about precision engineering through careful measurement, targeted tuning, and refined technique. Whether you're a beginner honing your skills for target practice or an experienced hunter seeking ethical, one-shot kills, getting this right means higher muzzle velocities, pinpoint accuracy, extended band lifespan, and safer operation overall.
This comprehensive guide draws from physics fundamentals, extensive community testing, and real-world applications to equip you with everything needed to optimize your setup. You'll learn to measure critical dimensions like draw length and active band length accurately, select and tune band geometry for efficiency, validate results with data-driven tests, and apply shooting techniques that deliver fast, repeatable shots. Backed by actionable steps, empirical data, and proven protocols, this resource is designed for shooters at all levels to achieve reproducible results that elevate your performance.
Quick Overview (TL;DR)
- Measure Precisely: Start with draw length (from fork tip to anchor point) and calculate active band length (typically draw length ÷ 5 for 500% elongation).
- Choose Optimal Bands: Opt for tapered flatbands over tubes for superior speed; balance thickness, width, and taper based on ammo and draw style.
- Tune Iteratively: Adjust stretch ratios (400–600%) via small trims, testing with chronographs for velocity peaks without compromising durability.
- Validate Thoroughly: Use force-draw curves, grouping tests, and penetration checks to confirm setup.
- Shoot Effectively: Employ stable grips, consistent anchors, smooth releases, and drills for speed with accuracy.
- Maintain and Troubleshoot: Regular inspections, safety protocols, and quick fixes ensure longevity and reliability.
By following this process, you can boost velocities by 10–20% while tightening groups, based on community chronograph tests.
1. Fundamental Measurements: Draw Length, Active Band Length, and Stretch Ratio
Accurate measurements form the foundation of any high-performance slingshot setup. Errors here can lead to inconsistent energy transfer, reduced speed, or premature band failure.
1.1 Draw Length: Your Setup's Core Metric
Draw length is the straight-line distance from the inner edge of the fork tip (where the band departs the fork) to your facial anchor point—such as the cheekbone, corner of the mouth, or index knuckle—during a full, comfortable draw.
Step-by-Step Measurement:
- Attach a thin, non-stretch cord (like paracord) across the fork tips to simulate the band's centerline.
- Mark or attach a small pouch simulator on the cord.
- Assume your natural shooting stance and draw to your preferred anchor without straining.
- Have a helper measure the distance with a tape measure or ruler; record in inches or centimeters.
- Repeat five to ten times for an average, accounting for minor variations in posture.
This matters because draw length dictates band sizing and elongation. For instance, a 30-inch draw might yield bands tuned for 150–180 fps with 3/8-inch steel ammo, per chronograph data from tuned setups. Common pitfalls include overextending, which skews readings and risks injury.
Variations: For butterfly-style draws (longer, over-the-head), expect 40–60 inches; adjust measurements accordingly for heavier hunting ammo.
1.2 Active Band Length: The Stretching Segment
Active band length refers to the elastic portion that elongates during draw, from the fork attachment point to the pouch tie—excluding ties, knots, or the pouch itself.
Starting Rule of Thumb: Active length ≈ Draw length ÷ 5. For a 30-inch draw, this gives 6 inches, targeting around 500% elongation—a sweet spot for speed and durability in natural latex.
Why ÷5? Extensive testing shows latex performs optimally at 400–600% stretch: lower for longevity (e.g., 300% for casual plinking), higher for velocity (up to 600% for competition), but with increased wear. This ratio balances kinetic energy storage with hysteresis losses.
Measure post-cut by laying the band flat and marking from attachment to tie.
1.3 Stretch Ratio: Your Tuning Compass
Stretch ratio = Draw length ÷ Active band length. Example: 30 inches ÷ 6 inches = 5x (500% elongation).
- Low Ratios (300–400%): Easier pull, longer life, suitable for beginners or light ammo; velocities around 120–140 fps.
- Mid Ratios (400–500%): Balanced performance; ideal for most users, yielding 150–170 fps.
- High Ratios (500–600%): Maximum speed (170–200+ fps), but monitor for snap-backs and fatigue.
Target 450–550% initially, then fine-tune based on ammo weight and environmental factors like temperature (colder weather stiffens bands, reducing effective ratio).
2. Band Geometry: Width, Thickness, Taper, and Material Choices
Band design directly influences energy efficiency, speed, and feel. Prioritize materials that match your goals.
2.1 Flatbands vs. Tubes: Speed and Durability Trade-Offs
Flatbands excel in speed due to better surface area for energy storage and easier tapering, making them preferred for precision and hunting. Tubes are more forgiving and durable but often 10–15% slower for equivalent draw weight.
For max speed, choose tapered flatbands—they reduce moving mass at the pouch end, boosting acceleration by up to 20% in tests.
2.2 Thickness and Width: Balancing Power and Mass
- Thickness: 0.4–0.85 mm for latex sheets. Thinner (0.4–0.6 mm) for speed with light ammo; thicker (0.7–0.85 mm) for heavy projectiles like 1/2-inch lead.
- Width: 15–25 mm at fork end for standard setups; wider for power, narrower for agility. Match to fork width to avoid slippage.
Consider ammo: Light 1/4-inch steel pairs with 0.5 mm bands; heavy hunting loads need 0.75 mm for penetration.
2.3 Taper: Efficiency for Velocity
Tapered bands (e.g., 25 mm at fork tapering to 15 mm at pouch) optimize mass distribution—more material where stretch is minimal, less where acceleration peaks. This can increase velocity by 5–15 fps over straight bands of similar mass.
Popular tapers: 20–12 mm for beginners, 25–18 mm for hunting. Avoid aggressive tapers (e.g., 30–10 mm) unless validated, as they risk uneven stress.
Material Notes: Natural latex offers snap and speed; synthetics like Theraband provide consistency in varying weather.

3. Cutting and Preparing Bands: Step-by-Step Precision
Proper preparation prevents failures and ensures symmetry.
Tools and Materials:
- High-quality latex sheets (recommend Yshotx premium latex for consistent thickness and longevity).
- Sharp rotary cutter or jig for straight edges.
- Ruler, square, and permanent marker.
- Heat-shrink tubing or strong cord for pouch ties.
- Optional: Band-cutting template for repeatability.
Detailed Cutting Process:
- Determine active length and taper based on measurements.
- Mark the sheet: Fork width at one end, pouch width at the other, over active length plus 1–2 inches for ties.
- Cut using a straightedge to avoid jagged edges, which create tear points.
- Fold and secure pouch ends with heat-shrink (heat gently) or double-loop ties for reinforcement.
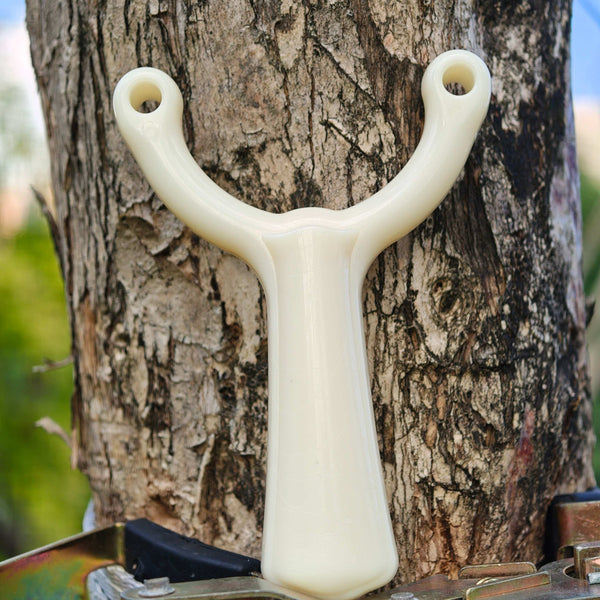
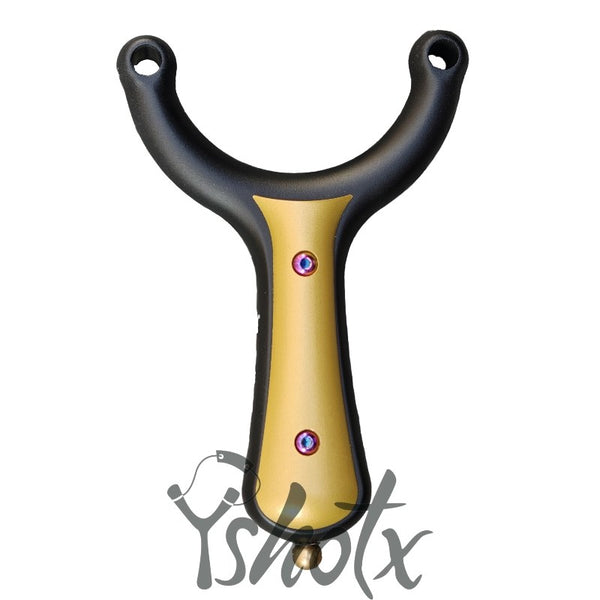
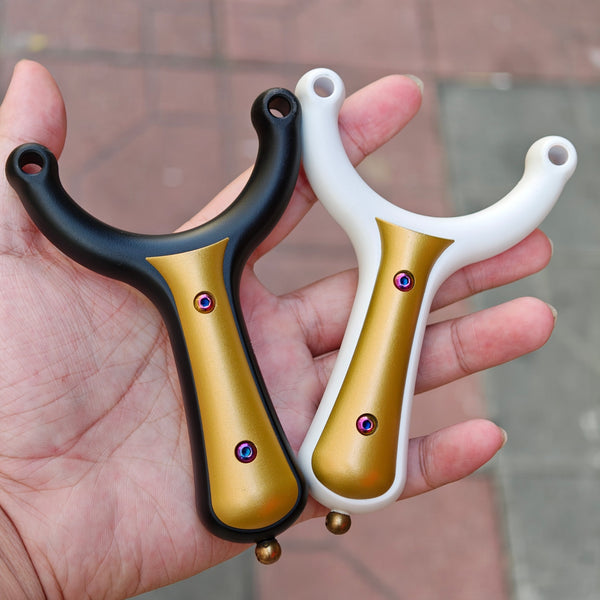
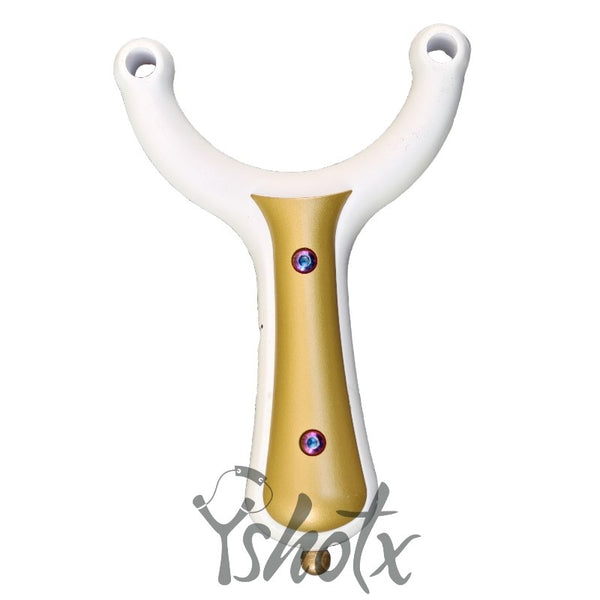
- Attach to frame (e.g., Yshotx Gemini Archer frame for ergonomic fit) and perform a slow test draw to check symmetry.
- Prepare multiples: Cut sets at ±0.2–0.4 inches variations for tuning experiments.
Pro Tip: Use a jig for consistent cuts; ragged edges reduce lifespan by 50% in fatigue tests.

4. The Tuning Process: Data-Driven Iteration for Peak Performance
Tuning is an iterative cycle: test, adjust, retest. Aim for the velocity peak where accuracy holds.
4.1 Baseline Testing Protocol
- Setup: Fixed frame, pouch, ammo, and draw stop (e.g., tape marker).
- Tools: Chronograph (Yshotx-compatible models for portability), scale for force.
- Procedure: Fire 10–20 shots; record mean velocity (fps), standard deviation (<5% for consistency), and subjective feel.
- Group Testing: At 10–15 yards, shoot 5 groups of 5; measure average diameter (<2 inches ideal).
4.2 Trim-for-Speed Cycle
Start at draw ÷ 5. Chrono a string, then trim 0.1–0.2 inches per side to increase ratio. Retest until velocity maximizes (often at 550% stretch), then stop if groups widen or bands slap. Example Data: From 500% to 550%, velocity might rise from 160 to 175 fps with 3/8-inch steel.
For butterfly draws, start longer to avoid overstress.
4.3 Ensuring Symmetry and Seating
Inspect for even tension: Mismatched bands cause torque. Use calipers for tie lengths; clip systems (if used) must align perfectly.
Advanced: Test for weather effects—humidity softens latex, requiring slight length adjustments.
5. Measuring Force-Draw Curves: Insights into Band Behavior
A force-draw curve plots pull force against extension, revealing non-linearity and energy efficiency.
Simple Measurement:
- Hook a digital luggage scale to the pouch.
- Pull incrementally (25%, 50%, 75%, 100% draw) and record forces.
- Plot or compare: Ideal curves rise smoothly; hysteresis (lag on release) indicates wear.
This helps predict velocity: Steeper curves at full draw signal high energy but potential snap risk. Share your plots for community feedback.
Flat Bands vs Tube Bands: Slingshot Rubber Band Comparison Guide
6. Validation Methods: Chronographs, Groups, and Ethical Checks
Confirm tuning with objective metrics.
Chronograph Protocol: 20-shot averages; calculate kinetic energy (KE = ½mv²). Target SD <3 fps for consistency.
Grouping: 5x5 at varying distances (10–20 yards); photo and analyze for POI shifts.
Penetration/Ethics: Use ballistic gel for hunting setups; ensure 4–6 inches depth for humane dispatch. Always prioritize ethical shots.

7. Shooting Techniques for Speed and Accuracy
Fast shooting demands discipline to maintain precision.
7.1 Grip and Frame Control
Light, consistent grip minimizes torque. For Yshotx frames, use the ergonomic contours for natural alignment.
7.2 Anchor and Sighting
Fixed anchor ensures repeatability. Use gap or instinctive aiming; train with mirrors for consistency.
7.3 Release Methods
- Pinch Release: Quick for speed; practice for smooth let-go.
- Back-Palm: Reliable for hunters; reduces thumb fatigue.
- Avoid mechanical aids unless legal.
7.4 Follow-Through and Recoil
Hold steady post-release; use supports for stability.
7.5 Rapid Reloads
Magnetic pouches (Yshotx accessories) cut reload time by half.
8. Practice Drills for Building Speed and Repeatability
- Drill A: Timed Accuracy: 10 shots in 30 seconds at 10 yards; track group size weekly.
- Drill B: Positional Transitions: 5 shots each standing/kneeling/prone; focus on anchor speed.
- Drill C: Data Correlation: Pair chrono with groups to refine tuning.
- Advanced Drill: Variable ammo weights to adapt tuning.
9. Maintenance, Band Lifespan, and Safety Essentials
- Care: Store in cool, dark places; inspect for cracks. Rotate sets; expect 200–500 shots per band.
- Safety: Always wear ANSI eye protection; keep clear firing lanes. Never dry-fire unsupported bands.
10. Troubleshooting Common Issues
| Problem | Possible Causes | Solutions |
|---|---|---|
| Inconsistent POI | Asymmetric seating or uneven ties | Reseat bands; retie symmetrically with calipers. |
| Low Velocity | Over-trimmed bands or fatigue | Lengthen slightly or replace; test at baseline ratio. |
| Band Tears at Pouch | Sharp edges or poor cuts | Smooth with sandpaper; use reinforced ties. |
| Poor Accuracy at Speed | Inconsistent anchor or jerky release | Retrain with slow-motion video; incorporate rests. |
| Excessive Slap | High stretch or thin bands | Reduce ratio to 450%; add padding if needed. |
11. Recommended Gear: Essential Tools and Accessories
- Bands: Yshotx premium latex sheets (various gauges) for reliable performance.
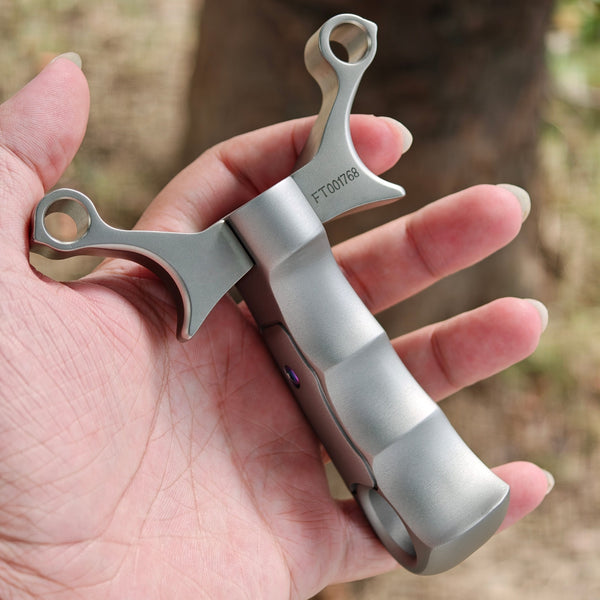
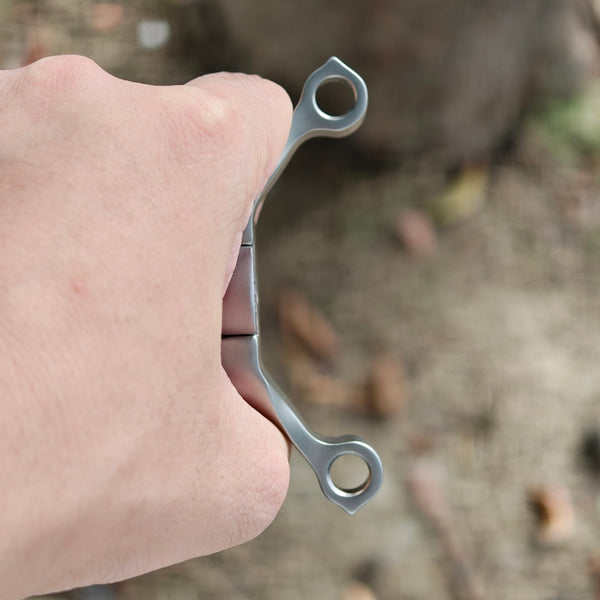
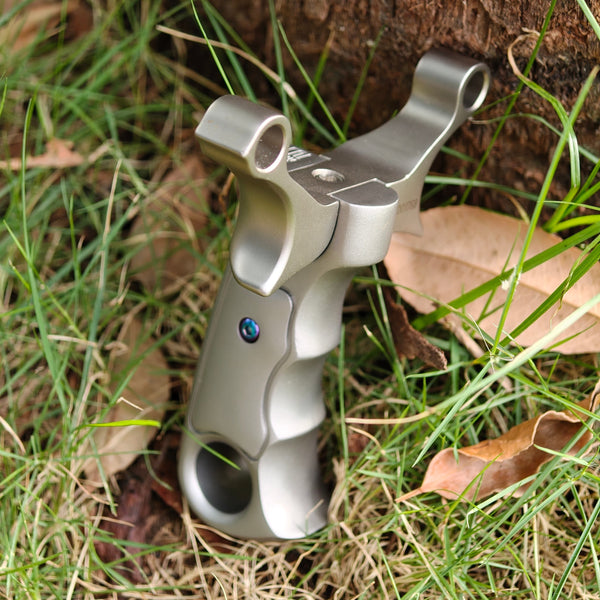
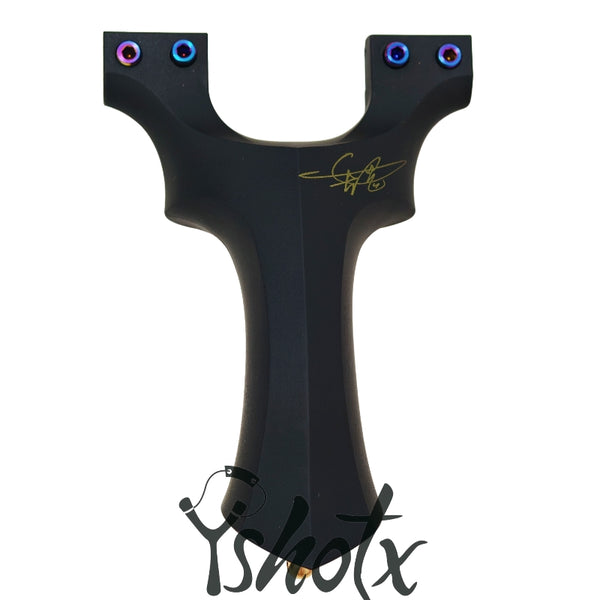
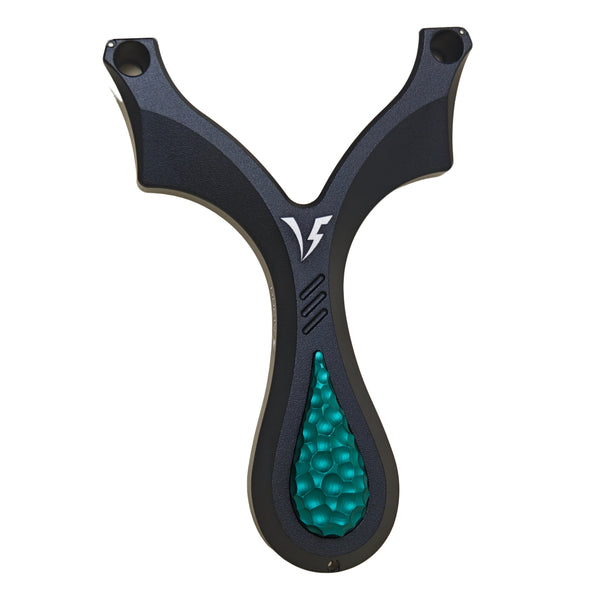
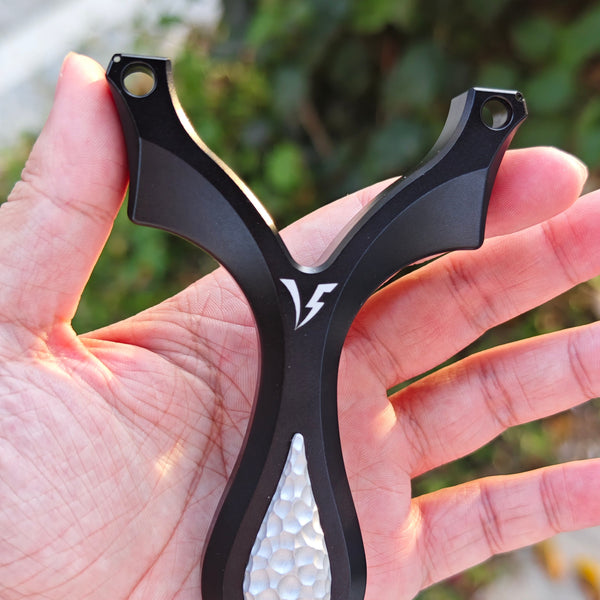
- Frames: Yshotx Gemini Archer-16 for tactical versatility and comfort.
- Cutting Tools: Rotary cutter and jig.
- Pouches: Pre-sized leather or synthetic from Yshotx.
- Chronograph: Affordable models compatible with slingshots.
- Accessories: Yshotx magnetic ammo pouches and eye protection.
- Ammo: Calibrated steel or lead balls.

12. Advanced Testing Ideas for Custom Insights
- Length Sweep: Table of velocity vs. active length (e.g., 5.5–6.5 inches) for one gauge.
- Taper Comparison: Chrono straight vs. tapered with equal mass; expect 10 fps gains.
- Curve Analysis: Plot hysteresis to predict lifespan.
- Share raw data (CSV) for reproducibility.
13. Frequently Asked Questions
Q: How do I accurately measure active band length? A: From fork attachment to pouch tie, excluding extras. Start with draw length ÷ 5 for optimal stretch.
Q: Are tapered bands always better for speed? A: Yes, typically 5–15 fps faster than straight bands due to mass optimization; test with chrono for your setup.
Q: What's the ideal stretch ratio for maximum speed? A: 500–600% for peak velocity, but balance with lifespan—start at 450% and trim incrementally.
Q: How does weather affect band tuning? A: Cold stiffens bands (reduce ratio); humidity softens (increase slightly). Retest seasonally.
Q: Can I use tubes for high-speed setups? A: Possible, but flats are superior; tubes suit durability-focused users.
14. Conclusion: Achieving Reproducible Excellence
Mastering slingshot speed and consistency requires a systematic approach: precise measurements, geometry-informed tuning, rigorous validation, and technique drills. By prioritizing data like chronograph readings and force curves, you'll not only hit higher velocities but also enjoy safer, more ethical shooting. Document your process, iterate based on tests, and watch your groups tighten. With the right setup—like Yshotx's reliable gear—you'll transform casual plinking into precision mastery.
Sources and Further Reading
For deeper dives:
- Slingshot Forum: Community Tests – Real-user chronograph data and discussions.
- SlingshotChannel YouTube: Performance Videos – Visual demos of taper and speed tests.
- Yshotx Expertise Blog: Band Comparisons – Material insights and product-specific tips.


