Mastering slingshot aiming across varying light conditions is essential for hunters, competitive shooters, and enthusiasts who demand precision in diverse environments. This comprehensive guide explores the science of vision under different lighting, recommends proven gear, outlines condition-specific techniques, and provides measurable drills to track your progress. Unlike basic tips found online, this resource integrates vision research, real-world testing, and actionable strategies to help you adapt and excel.
Why This Guide Stands Out
While many articles offer simple advice like "use a laser for low light," they often overlook the interplay of human vision, gear limitations, and practical training.
This guide builds on existing resources by combining peer-reviewed vision science, slingshot-specific equipment reviews, and quantifiable drills.
Backed by sources from NCBI PMC, WebMD, NRA, HawkSling, and KR Training, it provides a one-stop resource for experienced shooters, hunters, and content creators seeking measurable improvement.
TL;DR Summary:
In low light, use lasers or fiber-optics with dark adaptation training; for backlight, adjust angles and shade for contrast; in bright daylight, employ matte finishes and polarized lenses. Combine gear with point shooting and drills for consistent accuracy.

1. The Science of Light and Slingshot Aiming
Understanding how light influences vision is key to effective slingshot aiming. Your eyes adapt to changes through biochemical and neural processes, but transitions can impair precision.
Dark Adaptation and Rod/Cone Dynamics
When shifting from bright to dim light, your eyes undergo dark adaptation—a process where rods (low-light sensitive cells) take over from cones (responsible for color and detail in brighter conditions). Full rod sensitivity can take 20-30 minutes, during which visual acuity and color perception decline, making it harder to align slingshot forks or spot targets.
According to research on dark adaptation, partial improvement occurs in the first few minutes, but full recovery enhances contrast detection significantly. This is crucial for slingshot users, as low light reduces your ability to resolve fine details like target edges.
When and How to Replace Your Slingshot Bands: A Comprehensive Guide🛠️
2. Gear Recommendations: What Works for Slingshot Aiming
Selecting the right equipment can mitigate light-related challenges. Here's a breakdown based on tested options from NRA reviews and HawkSling guides.
Laser Sights and Visible Dots
Laser sights project a dot onto the target, simplifying alignment in low light by bypassing traditional sight pictures. Research from the NRA shows lasers improve acquisition speed and accuracy in dim conditions, especially for close-range shots. For slingshots, fork-mounted lasers (e.g., green dots for better visibility) are ideal for twilight hunting.
Pros: Quick targeting, effective in dusk; green lasers outperform red in daylight for many users. Cons: Dot washout in bright sun; requires secure zeroing to avoid parallax errors.
HawkSling recommends lasers for night practices, noting faster hits in low-light drills.
Link to HawkSling laser guideLink to NRA on lasers vs red dots
Fiber-Optic and Illuminated Sights
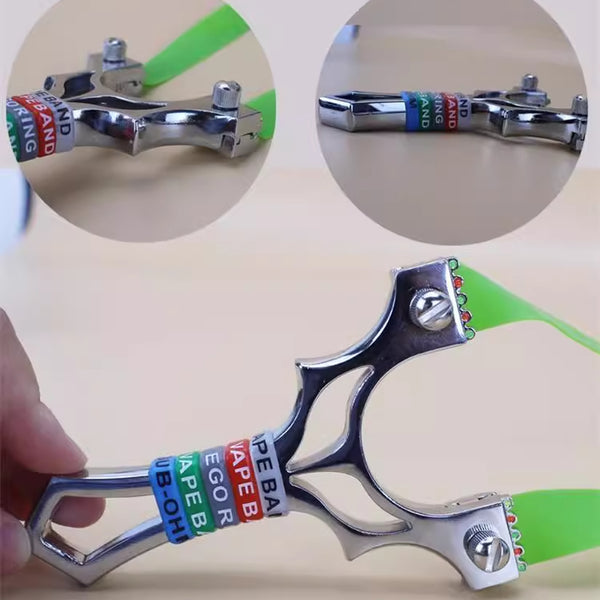
Fiber-optic inserts gather ambient light to create bright aiming points, enhancing contrast in transitional lighting like dawn or dusk. They're battery-free and low-profile, making them suitable for slingshot frames.
Red Dot/Reflex Sights
Reflex sights offer illuminated reticles for precise aiming. KR Training's red dot study highlights their advantage in mid-range accuracy over lasers, though lasers excel in speed for close shots. For slingshots, compact models can be adapted, but they're less common than lasers.
Anti-Glare Accessories
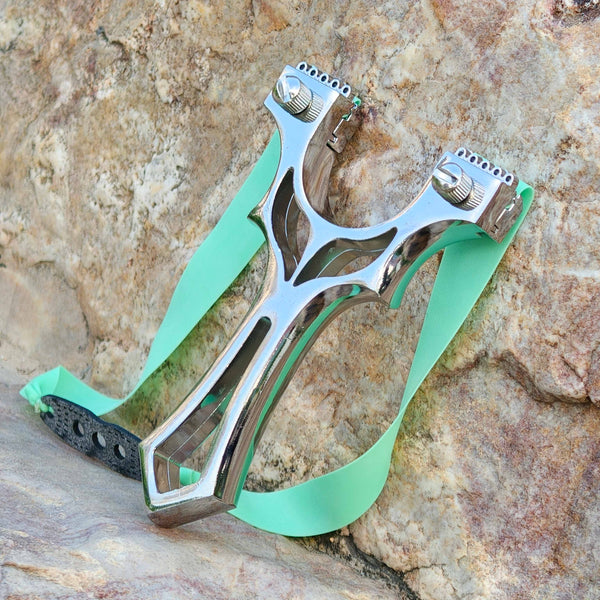
Matte tapes or coatings on forks reduce reflections in bright light, while polarized sunglasses improve contrast without distorting depth perception.
3. Techniques for Specific Light Conditions
Adapt your slingshot aiming based on the environment.
Low Light (Dusk, Dawn, or Moonlight)
Allow time for dark adaptation—avoid bright lights for 10-20 minutes to boost rod sensitivity. Use laser or fiber-optic aids for visible references, focusing on the target while the dot guides alignment. If gear-free, rely on point shooting with a consistent anchor point.
Strong Backlight (Target Silhouetted Against Bright Background)
Shift your stance or head angle to increase contrast— even a small adjustment can clarify the target. Shade your eye with your non-shooting hand to block glare. Switch to reference-point aiming, using pre-calibrated offsets (e.g., aim 2 inches high at 10m) from practice.
Bright Daylight and Glare
Apply matte finishes to eliminate glint from slingshot components. Polarized lenses can cut glare, but test for eye dominance effects. Maintain a solid cheek weld and anchor for fine sight pictures.
Flat Bands vs Tube Bands: Slingshot Rubber Band Comparison Guide
4. Core Techniques for All Conditions
-
Consistent Anchor: Always use the same cheek or jaw placement for repeatable shots.
-
Eye Dominance: Confirm your dominant eye; train cross-dominance if needed.
-
Smooth Release: Avoid jerking to preserve accuracy.
-
Data-Driven Practice: Use drills to measure progress, not intuition.
5. Drills to Build Light-Adaptive Aiming Skills
These drills are designed for repeatability, with logging templates to track data.
Drill A: Dark Adaptation Progression
Setup: 10m target with scoring rings. Start in bright light (5 shots baseline). Move to dim area, wait 5, 10, and 20 minutes without bright exposure, firing 5 shots each time.
Goal: Quantify accuracy gains as adaptation occurs.
Drill B: Laser vs. No-Laser in Twilight
Setup: Twilight, 10 shots with laser, 10 without, alternating.
Goal: Measure group size and acquisition time; expect 15-20% faster hits with lasers per KR studies.
Logging Table Example:
|
Drill |
Condition |
Shots |
Avg Group Size (cm) |
Notes |
|---|---|---|---|---|
|
Dark Adaptation |
Bright Baseline |
5 |
4.5 |
Warm-up |
|
Dark Adaptation |
5 Min Dark |
5 |
6.2 |
Partial |
|
Dark Adaptation |
20 Min Dark |
5 |
4.0 |
Near baseline |
6. Zeroing and Parallax Considerations
Zero lasers at your anchor point, testing at 5m, 10m, and 15m to minimize parallax. Small misalignments can cause offsets at varying ranges.
Choosing the Right Slingshot Frame Material: A Guide to Durability and Performance 🎯
7. Safety and Legal Guidelines
Laser Safety: Avoid pointing at eyes or reflective surfaces; use Class II/IIIa models. Hunting Laws: Many areas ban lasers for night hunting—check local regulations.
8. Gear Checklist for Light-Adaptive Slingshot Aiming
-
Green fork-mount laser for low light.
-
Fiber-optic inserts for transitional conditions.
-
Micro reflex sight for precision.
-
Matte tape for glare reduction.
-
High-quality bands like Yshoyx Mystic Might-A26 for consistent power.

11. FAQ
Q: Are lasers legal for slingshot hunting at night?
A: Varies by location; many prohibit artificial lights. Check regulations.
Q: Do lasers work in daylight?
A: Dot visibility depends on color and power; green is better but can wash out.
Q: How long does dark adaptation take?
A: 20-30 minutes for full, with partial benefits earlier.
12. Sources Appendix
-
Dark Adaptation: PMC Article
-
Contrast Sensitivity: WebMD
-
Laser Practices: HawkSling Guide
-
Lasers vs Red Dots: NRA Article
-
Red Dot Study: KR Training


